Salted Caramel Ice Cream Bars
The Frozen Dessert That Earns Its Spot in the Freezer
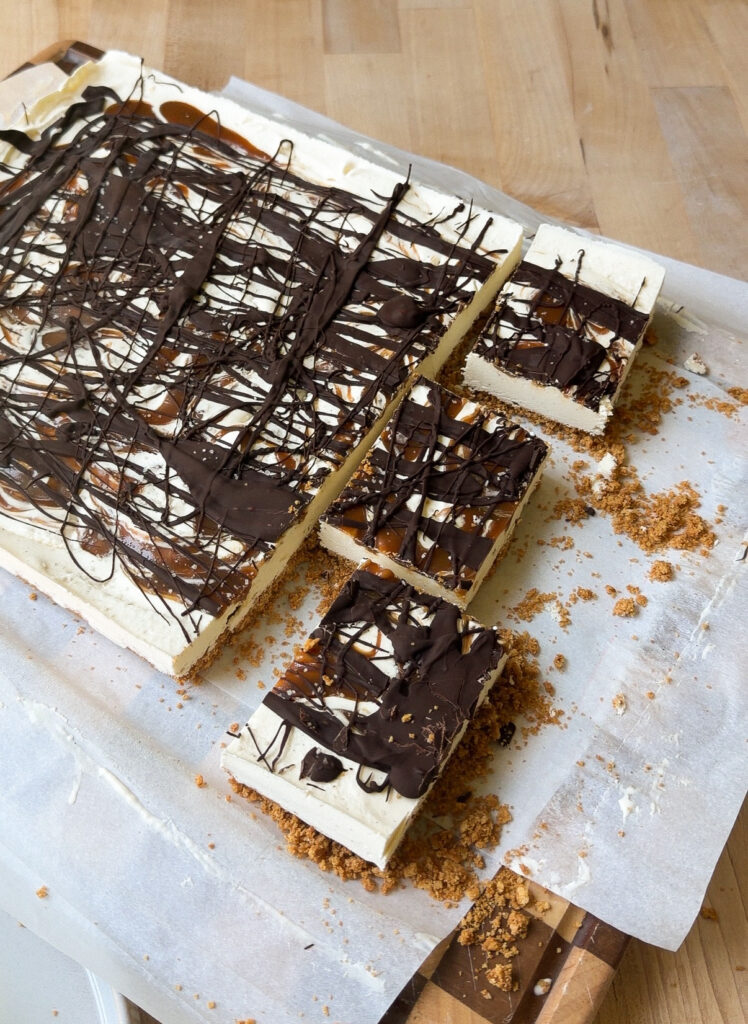
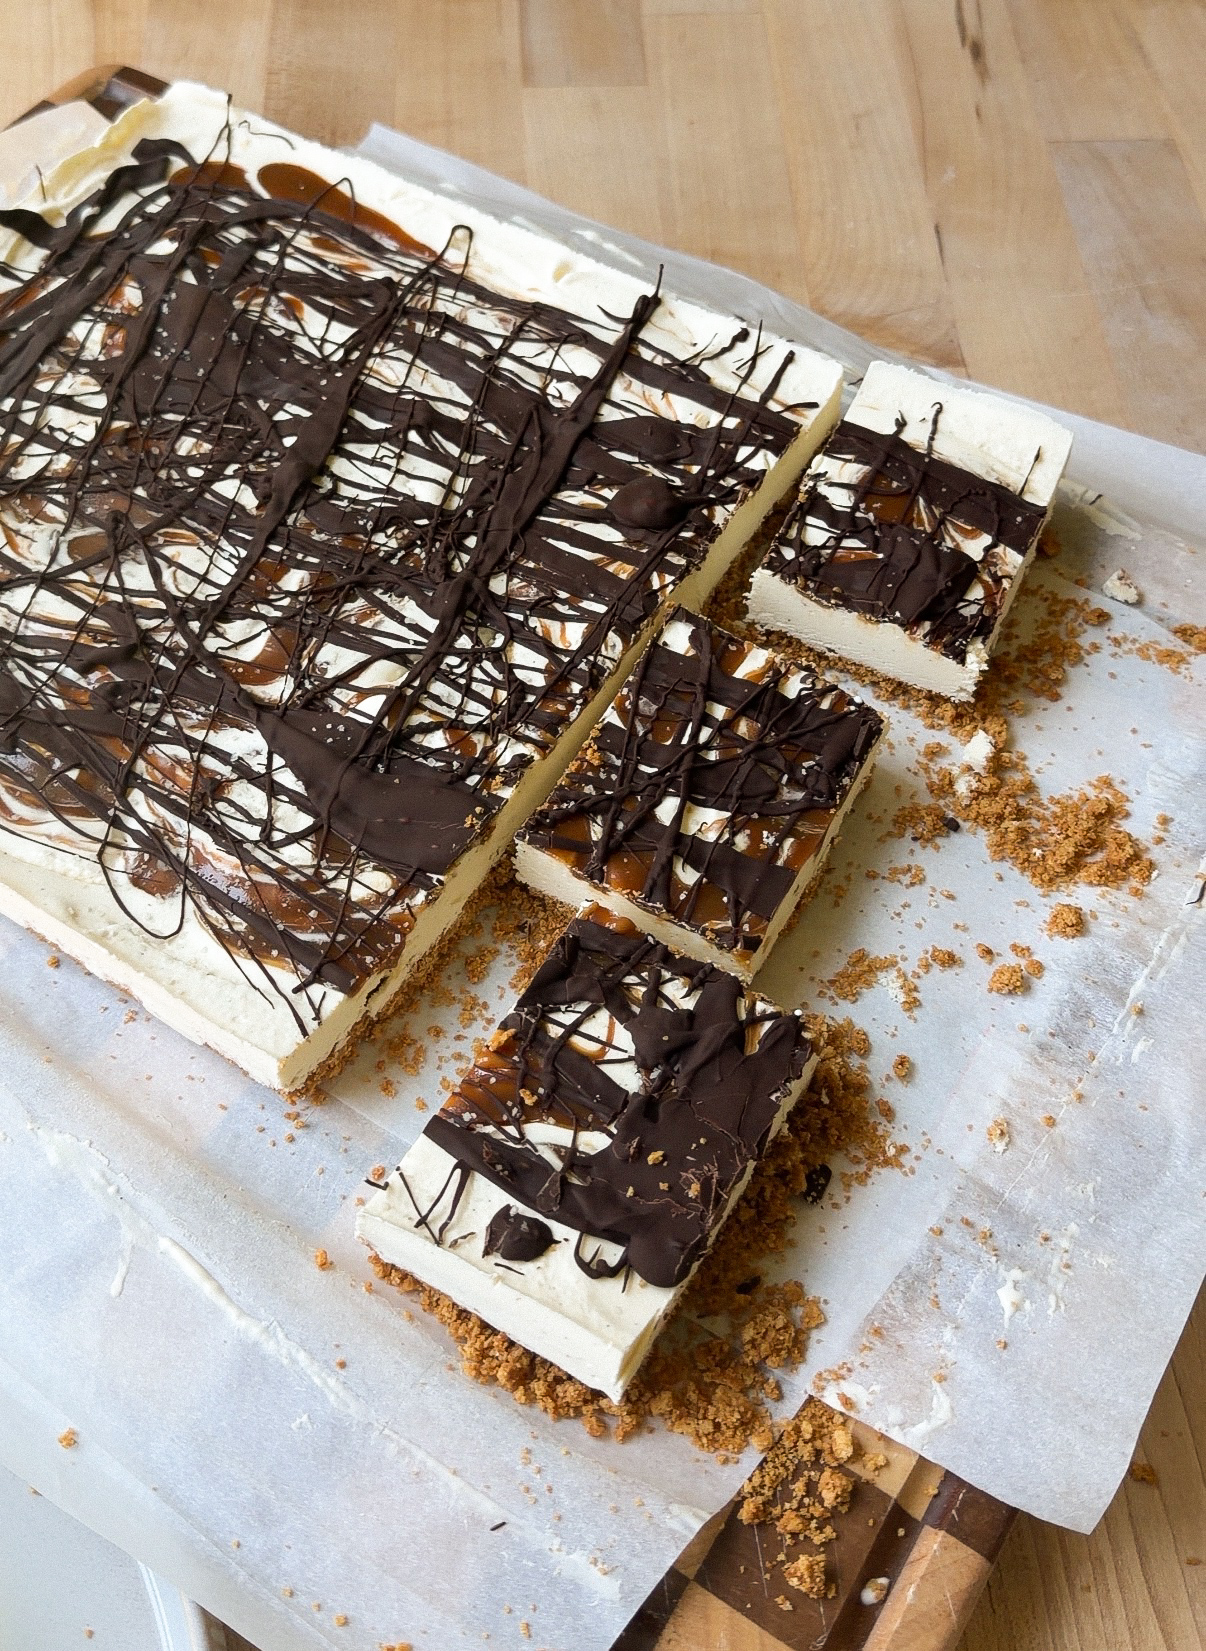
There is a particular kind of satisfaction that comes from pulling something out of the freezer that you made yourself and knowing it is genuinely better than anything in the ice cream aisle. These salted caramel ice cream bars are that thing. A vanilla custard base churned into something creamy and smooth, pressed over a buttery baked graham cracker crust, swirled with homemade salted caramel, finished with a drizzle of melted chocolate and a pinch of flaky salt, and then cut into bars that look like they came from somewhere with a very good pastry chef and a very long wait for a table.
The components are each worthwhile on their own. The custard ice cream base from the sweet corn ice cream recipe on this blog uses the same tempering technique. The salted caramel is the kind of recipe you make once and then keep a jar of in the refrigerator at all times. The graham cracker crust is two ingredients and eight minutes. Together they make something that justifies every pan and every step.
The Crust Bakes First and That Order Matters
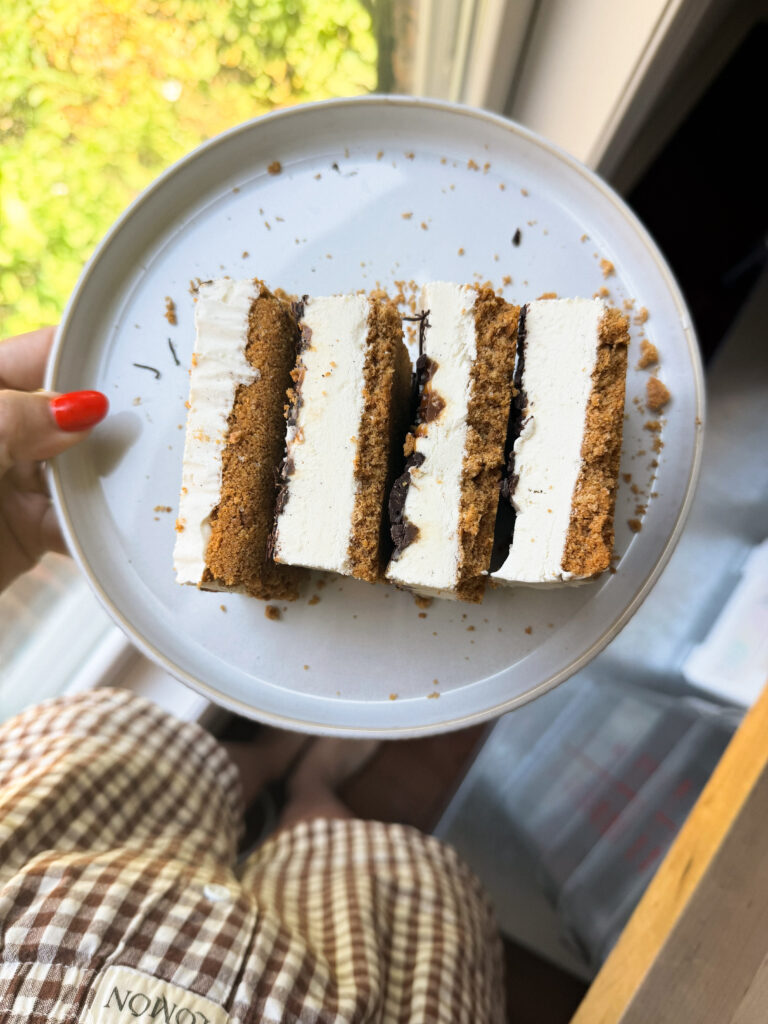
Eight minutes at 325°F is all the baked graham cracker crust needs, and doing it before the ice cream comes together means it has time to cool completely before anything frozen touches it. A warm crust under freshly churned ice cream melts the surface of the ice cream and creates a soggy layer between the two that ruins the textural contrast the whole bar is built around.
Pressing the crust firmly and evenly into the pan before it bakes is worth taking the extra minute. An uneven crust produces bars with thin spots that crumble when cut and thick spots that become too dense to bite through cleanly when frozen. The flat bottom of a measuring cup pressed across the surface is the most efficient tool for getting an even layer.
Custard Base, Not Shortcut
The ice cream base here is a proper custard, built from steamed cream and milk with egg yolks tempered in before churning. It is richer, smoother, and more stable in the freezer than a no-churn base made with condensed milk, and it produces a creamier texture that stays scoopable longer after it comes out of the freezer. For bars that need to hold their shape when cut and still have texture when eaten, the custard base is the right foundation.
The steaming step before tempering is the one that most people are tempted to abbreviate. Low heat, ten to fifteen minutes, barely a simmer. This drives off excess moisture from the milk and cream before the eggs go in, which produces a denser, more concentrated base that churns into a creamier finished ice cream. A base that has been rushed through this step on higher heat contains more residual water, which translates into more ice crystals in the finished product and a coarser texture in every bite.

How to Make Caramel Without It Getting Away From You
Caramel has a reputation as one of the more stressful things to make in a home kitchen, and that reputation comes from a few moments in the process that genuinely do require attention. The sugar and water go in together over medium-low heat and should not be stirred once they begin to dissolve. Stirring encourages crystallization, which can cause the entire batch to seize into a grainy, unworkable mass. Watch the pan and let the heat do the work.
The color change from clear to golden to amber happens faster than expected, and the window between perfectly caramelized and burnt is shorter than anyone wants. Pull it at a deep amber and add the butter one tablespoon at a time with constant whisking. The cream goes in last and will cause the mixture to bubble aggressively, which is normal and not a problem as long as the pan is large enough to contain it. The salt and vanilla go in off the heat, where they can contribute their full flavor without cooking away.
Marbling Is the Visual Move That Makes the Bar
Spooning salted caramel over the freshly churned ice cream and using a toothpick to pull it through in slow, deliberate strokes creates the swirled, marbled pattern that makes these bars look as considered as they taste. The key is working quickly, since the ice cream is already beginning to set at its surface from the cold of the crust and the air, and caramel that has been sitting long enough to thicken doesn’t marble smoothly.
The chocolate drizzle goes over the top of the caramel layer immediately after, while everything is still soft enough that the chocolate can settle into the surface rather than sitting rigidly on top. Flaky salt over the chocolate before the pan goes into the freezer is the finishing touch that ties every layer together, cutting through the sweetness of the caramel and chocolate and reminding every bite that this is a salted caramel bar, not just a caramel one.
Cutting Cleanly From a Frozen Pan
Lifting the entire frozen sheet from the pan using the parchment paper overhang is the move that makes cutting these bars clean and consistent. Trying to cut directly in the pan traps the knife against the sides and produces uneven, torn edges. On a flat surface, the entire slab can be cut in straight, confident passes with a sharp knife.
Running the knife under hot water and wiping it dry between cuts produces the cleanest edges, especially through the chocolate layer on top, which can crack or drag if the blade is cold. Let the bars sit at room temperature for two to three minutes before serving if they come straight from the freezer, just long enough for the ice cream to soften slightly at the edges so the first bite doesn’t require force.
Salted Caramel Ice Cream Bars
Ingredients
FOR THE ICE CREAM:
- 1 cup Whole Milk
- 1 cup Heavy Cream
- ⅓ cup Granulated Sugar
- 3 Egg Yolks
- ½ tsp Salt
- 1 tbsp Vanilla Bean Paste
FOR THE CRUST:
- 18 Full Graham Cracker Sheets
- 4 tbsp Melted Butter
FOR THE TOPPINGS:
- 1 cup Granulated Sugar
- ½ cup Water
- 1 stick Butter (8 tbsp)
- ½ cup Heavy Cream
- 1 tsp Salt
- 1 tsp Vanilla Bean Paste
- 1 cup Chocolate Chips
Instructions
- Preheat the oven to 325°F. Add the graham crackers and melted butter to a food processor and blitz until you achieve a fine crumble. Pour the graham cracker mixture into a 9”x13” parchment lined baking dish, pressing it firmly to form a solid crust. Bake the crust for 8 minutes, then set it aside to cool.
- Meanwhile, start on your ice cream base. Add the heavy cream, milk, and salt to a medium sized sauce pan over low heat. Allow this mixture to steam for 10-15 minutes. You do not want it to bubble much! If it begins to simmer, turn the heat down. We just want to steam off some of the extra moisture.
- While the cream is steaming, add the egg yolks and sugar to a medium sized bowl. Whisk to combine.
- Now, temper the eggs. Whisking constantly, add small spoonfuls on the hot cream to the egg yolks. Add around 5-8 spoonfuls to the egg yolks. If you rush through this step, the egg yolks will scramble! Once you’ve added at least 5 spoonfuls, pour the egg yolk mixture into the saucepan with the remaining cream. Again, whisk constantly while doing this. Add the vanilla bean paste.
- Pour the ice cream base into a clean bowl and refrigerate for at least one hour, or overnight.
- Once cooled, add the ice cream base to your ice cream maker. Follow your machine’s instructions, typically churning it for 20-30 minutes.
- While the ice cream churns, prepare the salted caramel. Add the water and granulated sugar to a sauce pan over medium/low heat.
- Once the sugar has dissolved and the mixture comes to a simmer, slowly add the butter 1 tbsp at a time. Whisk often to avoid burning, and allow the mixture to cook until you achieve a golden brown color. Once the golden color is achieved, slowly add the heavy cream while whisking. Be careful – the mixture will bubble up and fizz!
- Once the cream is incorporated, remove the caramel from the heat and stir in the salt and vanilla. Transfer this to a jar and set it aside.
- Once the ice cream is ready, spread it evenly over the graham cracker crust. Top with a generous drizzle of the salted caramel, then use a toothpick to marble it through the ice cream.
- Melt the chocolate chips in the microwave by microwaving them for 30 seconds at a time, mixing in between each round. Drizzle the melted chocolate over the salted caramel. Sprinkle some extra flaky salt on top, and then place the entire pan into the freezer for at least 1 hour.
- Remove the entire sheet from the pan by lifting from the parchment paper, and cut the sheet into bars. Enjoy!