Lemon Blueberry Brioche Buns
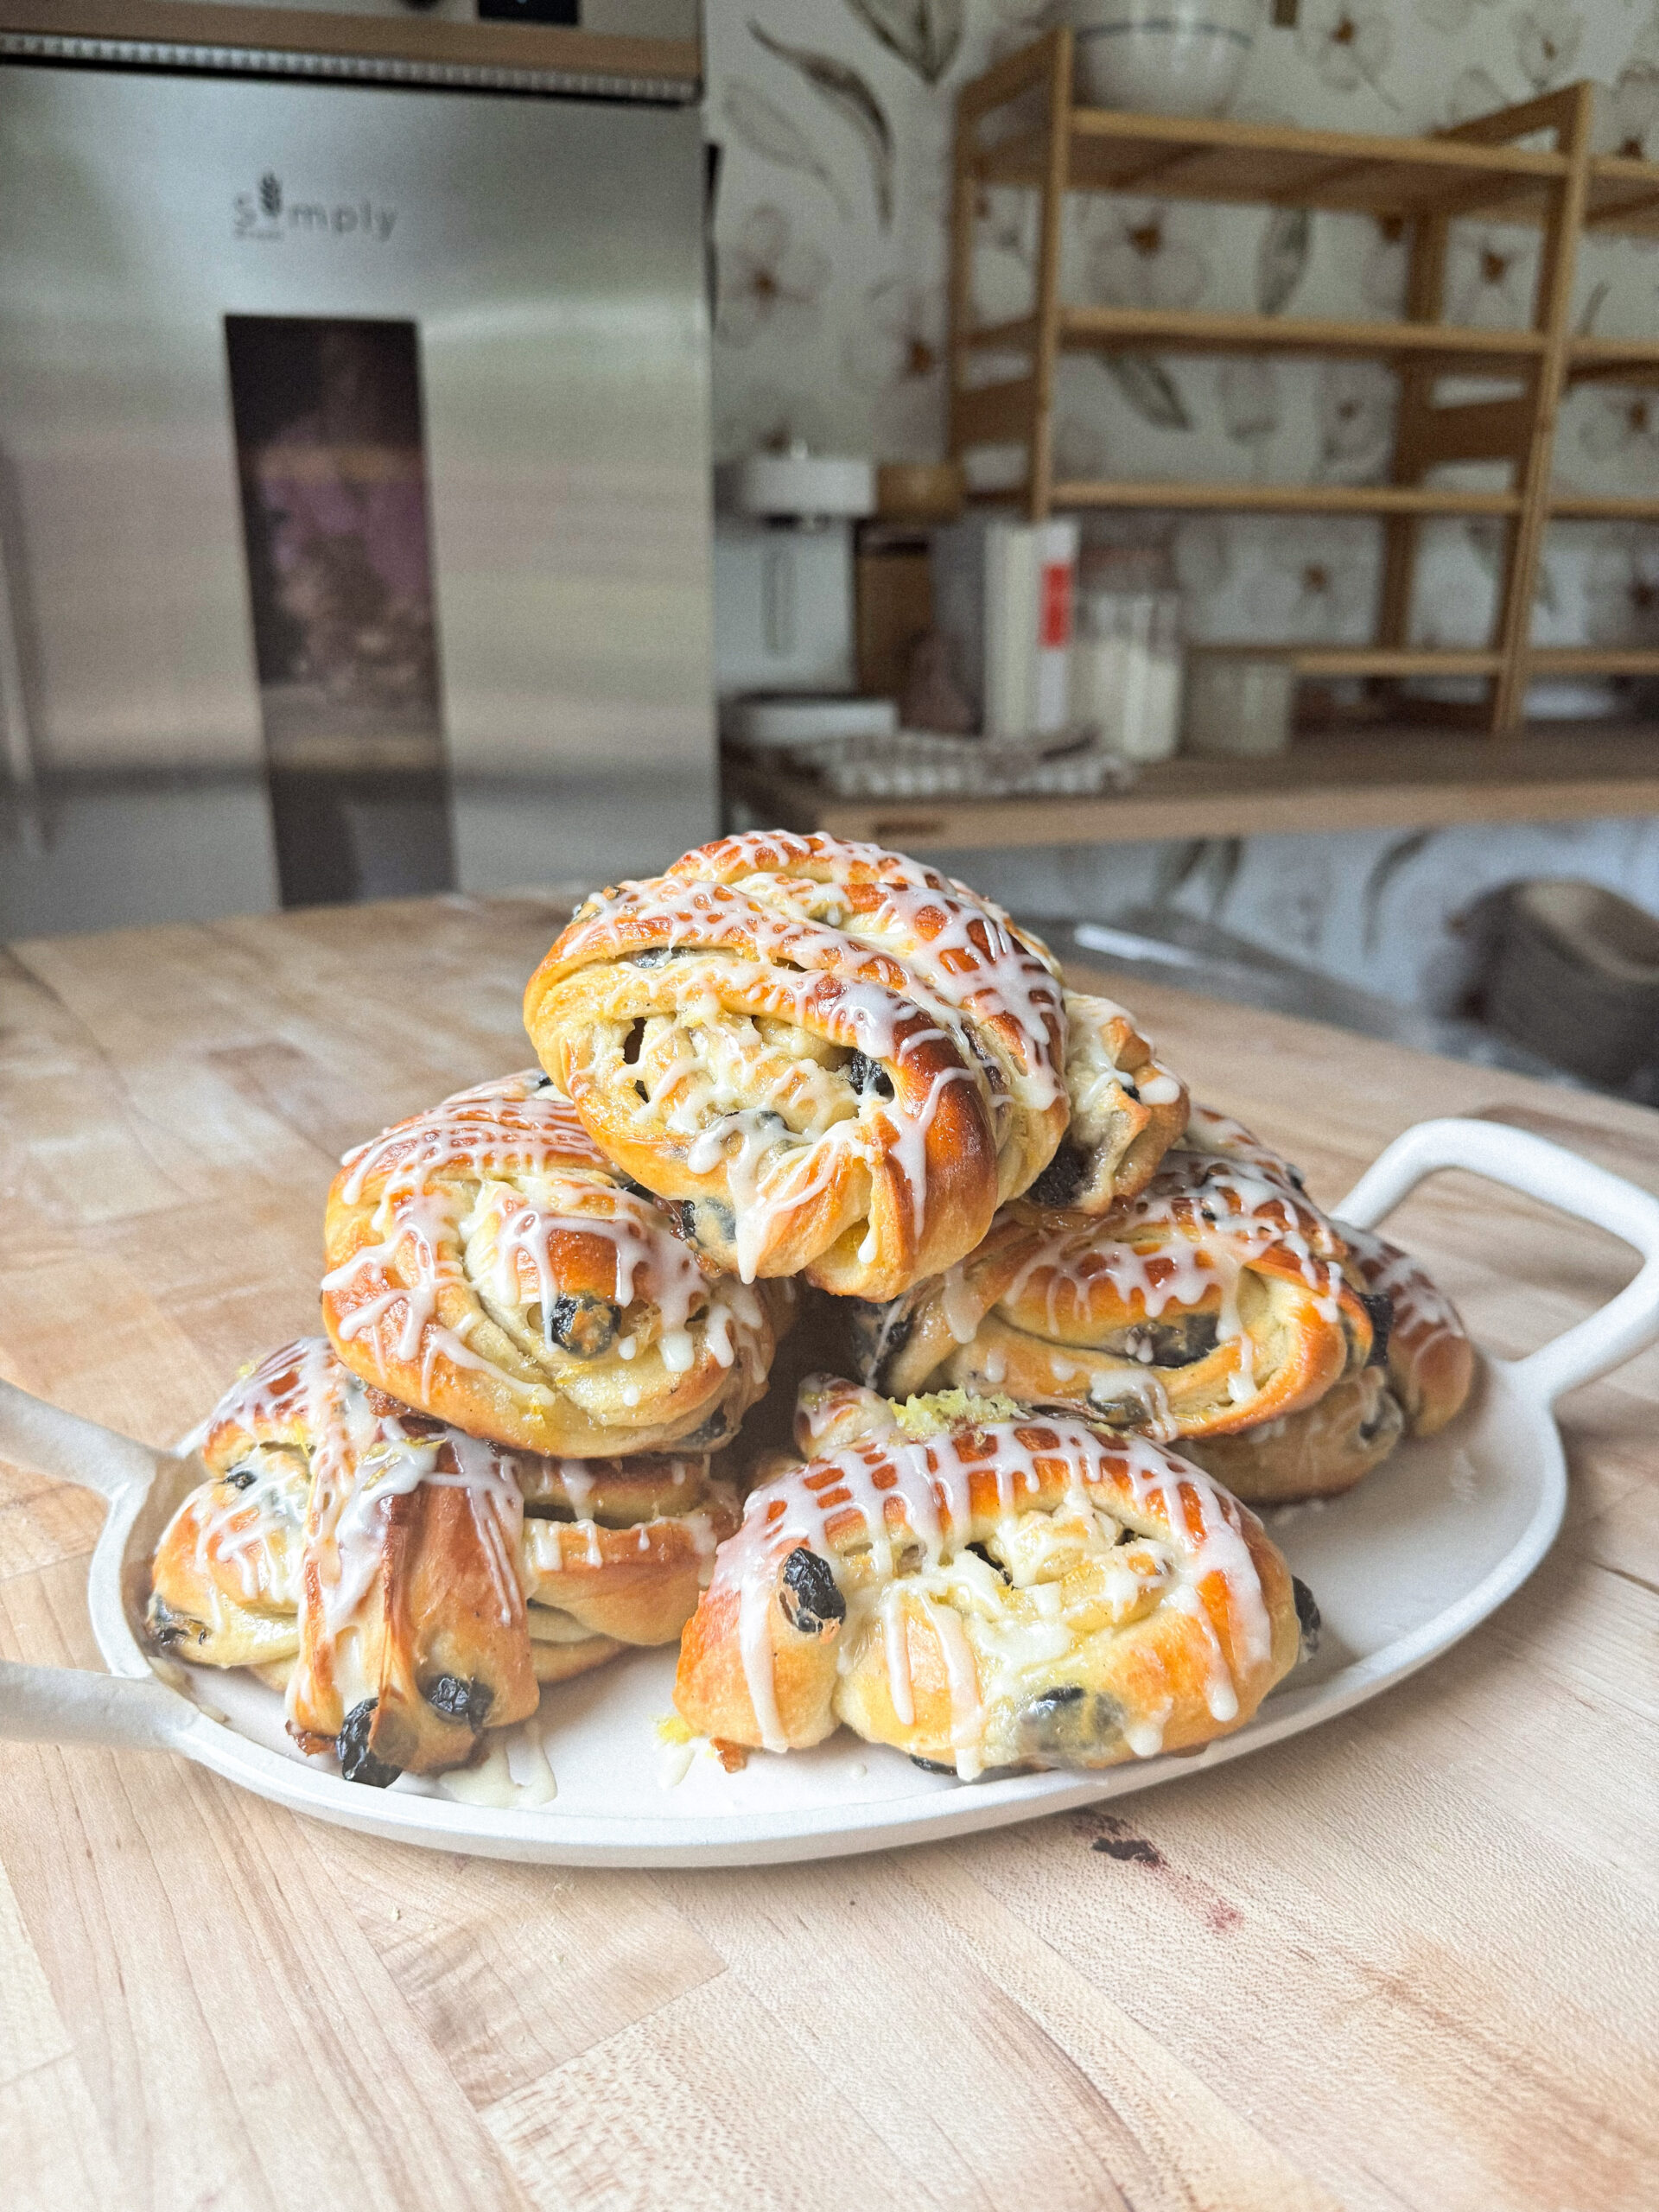
The Bun That Clears the Whole Plate
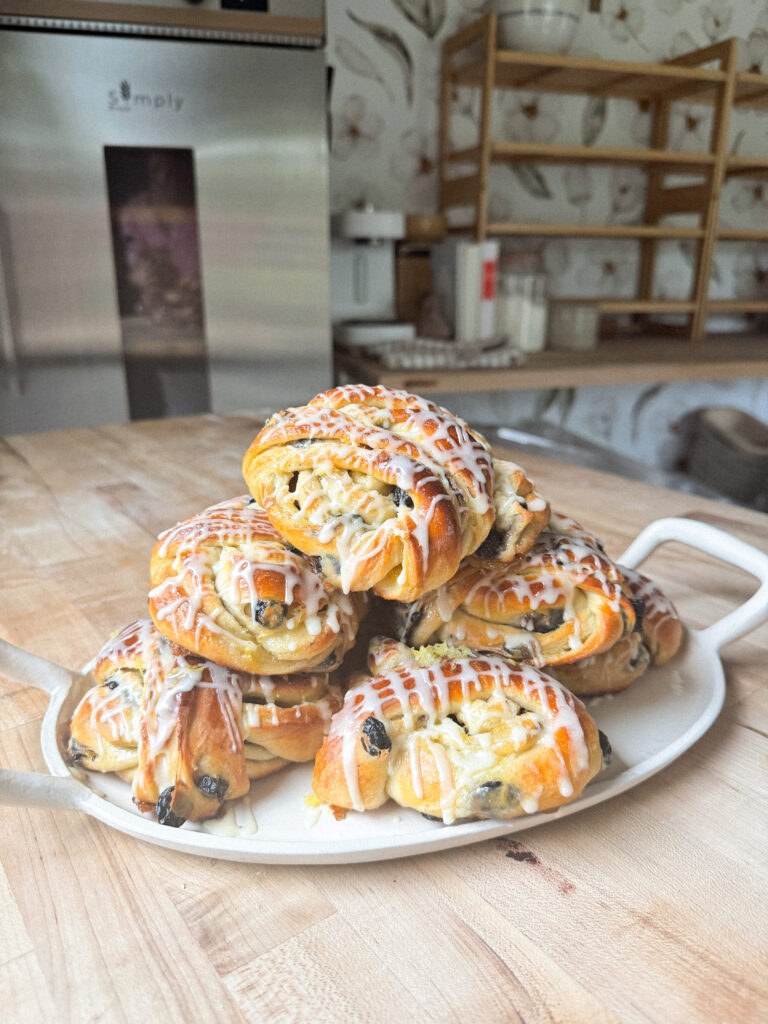
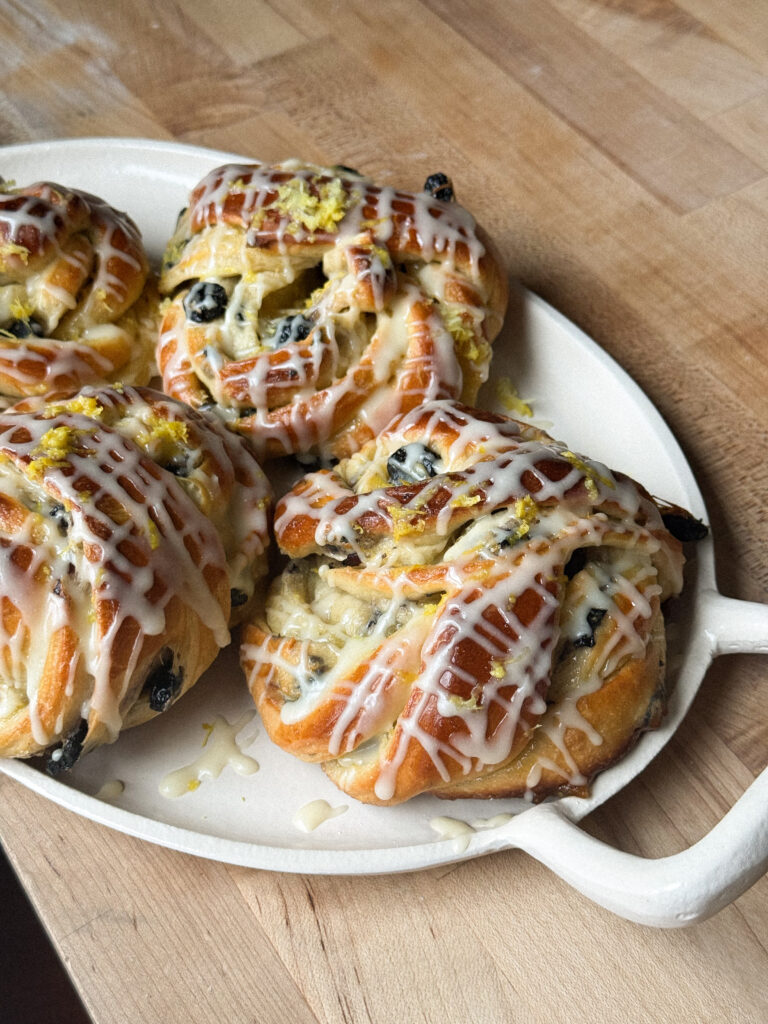
There is a particular kind of baked good that commands a room. Not loudly, not with anything dramatic, just by being exactly what it is when it comes out of the oven. Golden, glossy, coiled into that satisfying knot shape, smelling of butter and lemon and something warm and yeasty underneath it all. These brioche knots are that baked good.
The dough is a proper enriched brioche, built slowly with butter added one tablespoon at a time into an already-developed dough, the way the English muffin loaf and the sourdough donuts on this blog are built. The blueberries are rehydrated before they ever touch the dough so they stay plump and jammy rather than leathery through the bake.
The filling is lemon zest worked into sugar until the kitchen smells like a citrus grove, creamed with butter into something that melts into every layer of the knot as it proofs and bakes. The glaze is bright and just barely sweet, more lemon than sugar, cutting cleanly through the richness of the brioche underneath.
Every component is doing something specific. Together they make a bun worth clearing your Saturday morning for.
Why the Blueberries Get Soaked First
Dried blueberries added directly to a bread dough do what dried fruit always does in a wet environment: they absorb moisture aggressively, pulling it from the dough around them and leaving the crumb drier than it should be. Soaking them in hot water for thirty minutes before they go anywhere near the dough rehydrates them back to something close to their original state, plump and tender and full of their own moisture rather than hungry for the dough’s.
Patting them thoroughly dry after soaking and tossing them in a small amount of flour is the next critical step. Excess surface moisture on the blueberries makes the dough wet and sticky at the point of contact, which can create uneven texture in the finished bun. The flour coating absorbs that surface moisture and helps the blueberries distribute evenly through the dough without clumping together or sinking.
Butter Goes In Last and Slowly
If you have followed any of the enriched dough recipes on this blog, this technique is familiar by now. The flour, eggs, sugar, salt, and milk-yeast mixture all come together first, building a gluten network before the fat enters the picture. Then butter goes in one tablespoon at a time on medium speed, each piece fully incorporated before the next one joins.
This process takes patience and the dough will look wrong several times before it looks right. It will seem too wet, then too shaggy, then suddenly smooth and elastic and pulling cleanly away from the sides of the bowl. That transformation happens somewhere around the fifteen-minute mark, usually just when you start wondering if something has gone wrong. The windowpane test confirms it: a small piece of dough stretched between your fingers should become translucent without tearing. That dough is ready.
Lemon Zest Into Sugar, Not Into Butter
The filling starts with zest pressed directly into sugar rather than cream cheese or butter, the same technique used in the morning bun muffins on this blog, and for the same reason. The essential oils in citrus zest are fat-soluble and bound up in the outer layer of the peel. Working the zest into sugar with your fingers breaks those cells and releases the oils into the sugar granules, infusing them completely and distributing lemon flavor throughout every layer of the filling.
Creaming the lemon sugar with softened butter afterward produces a filling that is smooth enough to spread evenly across a large rectangle of dough and stable enough to stay in place when the dough is folded over it and cut into strips.

It also melts into the layers of the knot during the second rise and bake, creating thin, caramelized pockets of lemon butter throughout the interior that make each pull-apart layer taste like the whole thing was built for that single bite.
Shaping Is Easier Than It Sounds
Rolling the filled dough into a rectangle, folding it in half, and cutting it into strips produces eight long pieces of layered dough that are ready to be shaped. The knot shape, wrapped around the fingers three or four times and then crossed and tucked underneath, sounds more complicated than it is and becomes intuitive by the third or fourth bun. What it produces is a shape with enough surface area to develop a deep golden color across the exterior while keeping the interior soft and pull-apart, with visible layers of lemon butter peeking through the folds.
Placing them on the baking sheet with enough space to expand during the second rise is important. These buns grow significantly between shaping and the oven, and buns that are too close together bake into each other and lose the definition of the knot.
The Glaze Is Bright on Purpose
Lemon juice rather than milk as the liquid base of the glaze keeps it tart and citrus-forward rather than sweet and flat. Vanilla bean paste adds depth and those characteristic flecks that make the glaze look finished rather than simple. Whisked with powdered sugar to a consistency that pours in a thin, even drizzle, it sets on the cooled buns into a translucent, slightly tacky coating that amplifies the lemon in the filling and cuts through the richness of the brioche in every bite.
The buns need to be fully cooled before glazing, both so the glaze sets properly on the surface and so the interior has finished its carryover cooking and settled into its final texture. A glazed warm bun is a good thing. A glazed fully cooled bun is the better one.
Lemon Blueberry Brioche Buns
Ingredients
FOR THE DOUGH:
- 500 g Bread Flour
- 180 g Milk (warm – decrease to 130 if using fresh blueberries)
- 6 g Active Dry Yeast
- 80 g Granulated Sugar
- 3 Eggs
- 113 g Softened Butter (1 stick)
- 6 g Salt
- 150 g Dried Blueberries (or fresh)
- 750 g Hot Water (for soaking the dried blueberries)
- Egg Wash
FOR THE FILLING:
- 113 g Softened Butter (1 stick)
- 2 Lemons Zested
- 200 g Granulated Sugar
FOR THE ICING:
- 250 g Powdered Sugar
- 2 Lemons Juiced
- 10 g Vanilla Bean Paste
Instructions
- Add the dried blueberries to the hot water and allow them to soak for 30 minutes. This keeps the blueberries from absorbing the moisture from the bread.
- While the blueberries soak, add warm milk and yeast to a small bowl and let it sit for 5 minutes to allow the yeast to bloom. Meanwhile, add the flour, sugar, eggs, and salt to the bowl of a stand mixer with the dough hook attached. Once the yeast has rested for 5 minutes, add the milk and yeast mixture to the stand mixer bowl.
- Allow the dough to mix on a low speed until everything is combined. Once all of the flour has been absorbed, increase the speed to medium and add the butter 1 tbsp at a time. Once all of the butter is added and incorporated, drained the blueberries and pat them dry very thoroughly. Toss the blueberries in 1 tbsp of flour (around 10g). Add the blueberries to the dough as it mixes.
- Let the dough mix for around 15 minutes, or until it has gained enough strength to pass the windowpane test. This means you can stretch the dough thin enough for light to pass through without the dough breaking.
- Cover the dough and let it rise for 1.5-2 hours, until it has doubled in size.
- Prepare the filling by adding the granulated sugar and lemon zest. Pinch it between your fingers to release the lemon oils. Then, add the butter and cream it together until smooth.
- Once the dough is perfectly proofed, roll the brioche dough on a floured surface into a large rectangle, roughly 24”x20”. Evenly spread the filling over the dough, then fold it in half to create a 12”x20” rectangle.
- Slice the rectangle with a pizza cutter lengthwise to create 8 long strips, each 20” long. To shape the buns, wrap each strip around your fingers 3-4 times, then cross over the center and securely tuck underneath. Place each shaped bun on a parchment lined baking sheet.
- Cover the shaped buns with plastic wrap and allow them to complete a second rise for 1-2 hours. The buns should be noticeably larger, light, and airy after the second rise.
- Preheat the oven to 400°F. Brush the proofed buns with egg wash and bake for 20-25 minutes, until the buns are perfectly golden brown and reach an internal temperature of 210°F.
- While the buns bake, prepare the glaze by whisking together the powdered sugar, lemon juice, and vanilla bean paste. Let the buns cool before glazing.