Blackberry Honey Sourdough Scones
The Morning That Starts With Scones
There is a version of a weekend morning that involves nowhere to be, something good on the counter to eat, and a kitchen that smells like butter and blackberries and honey. This recipe is built for exactly that morning.
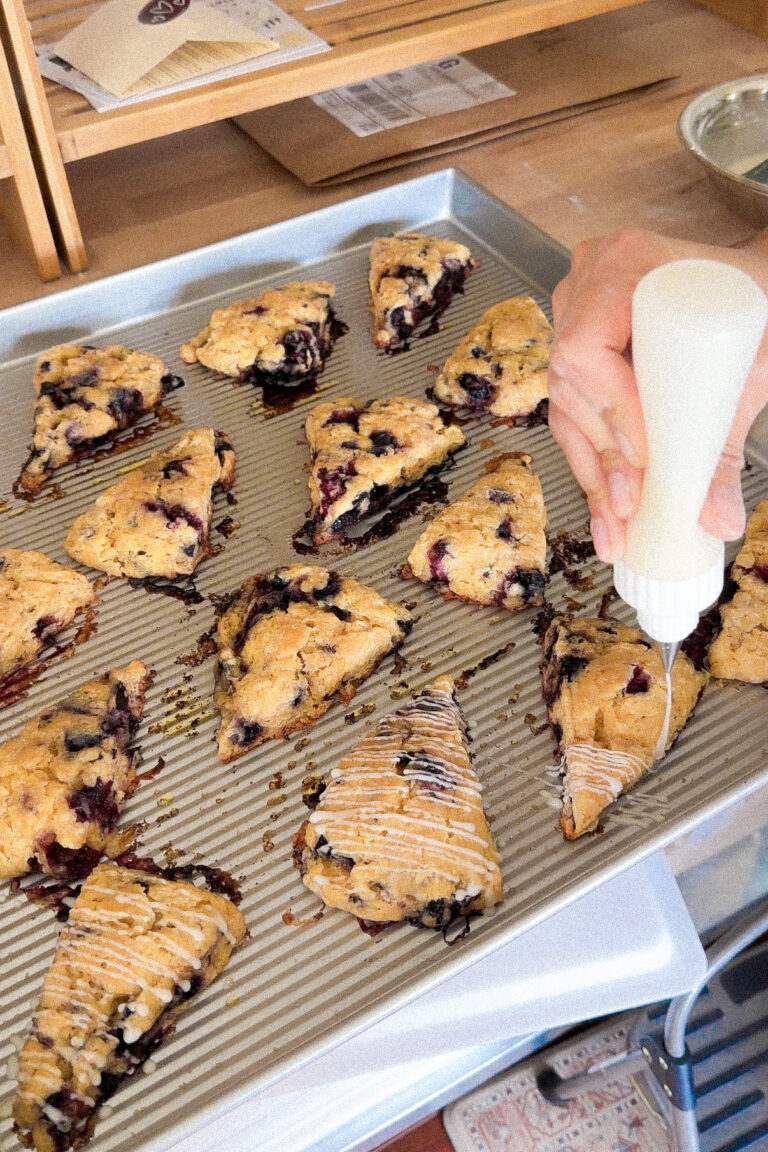
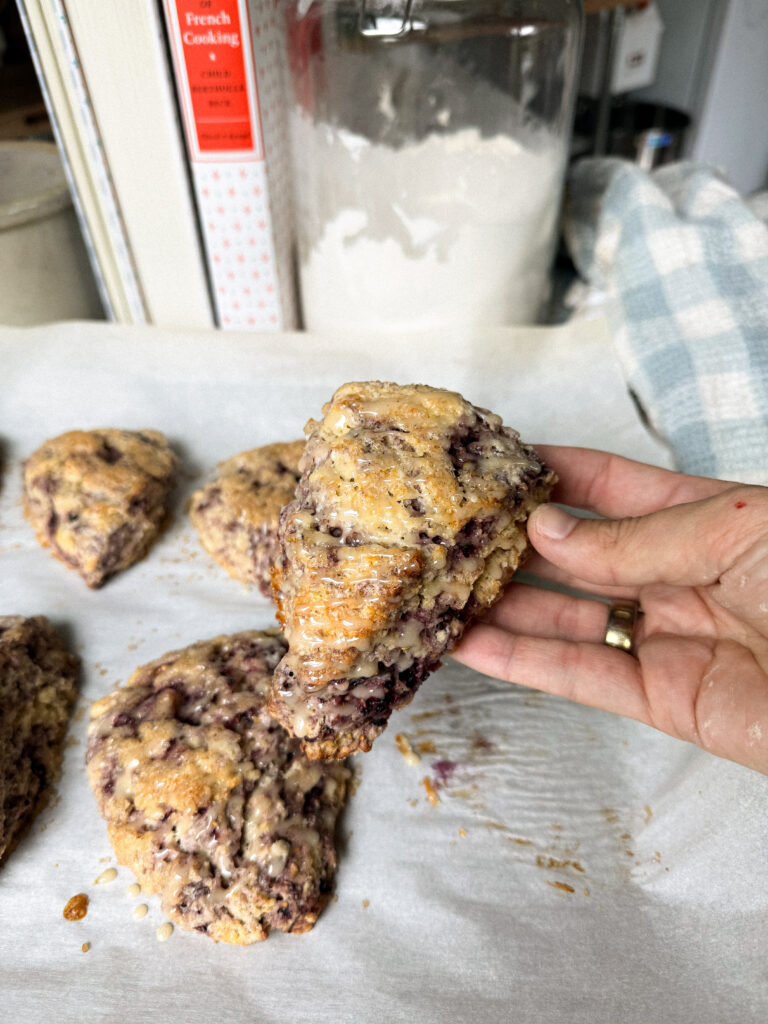
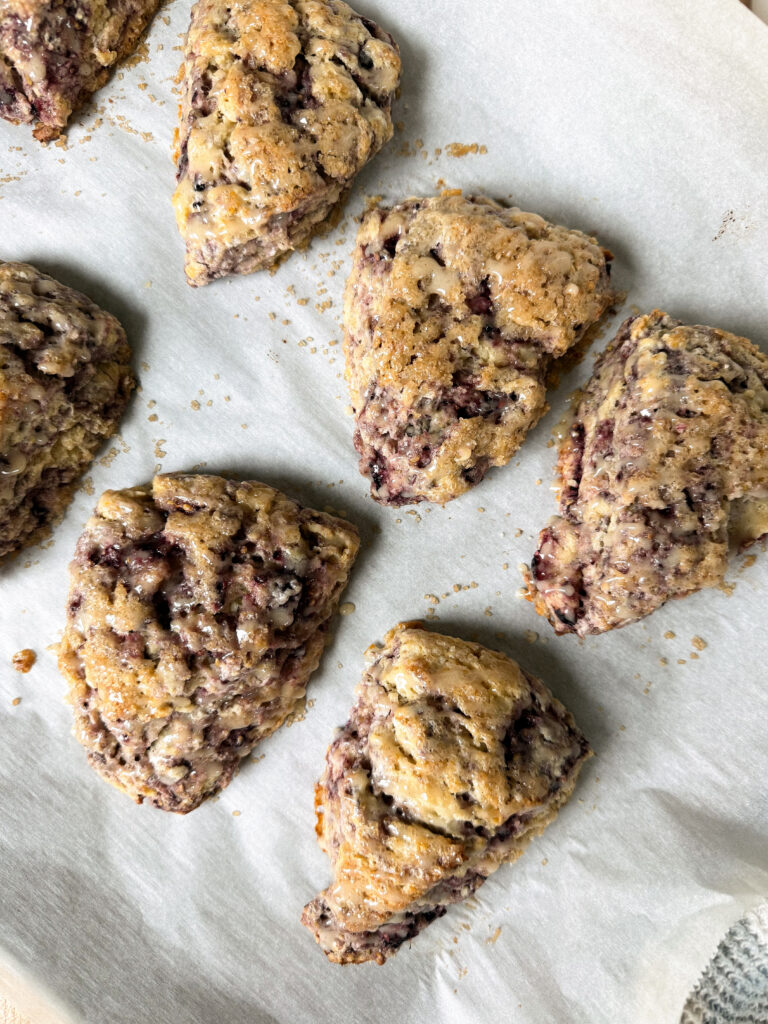
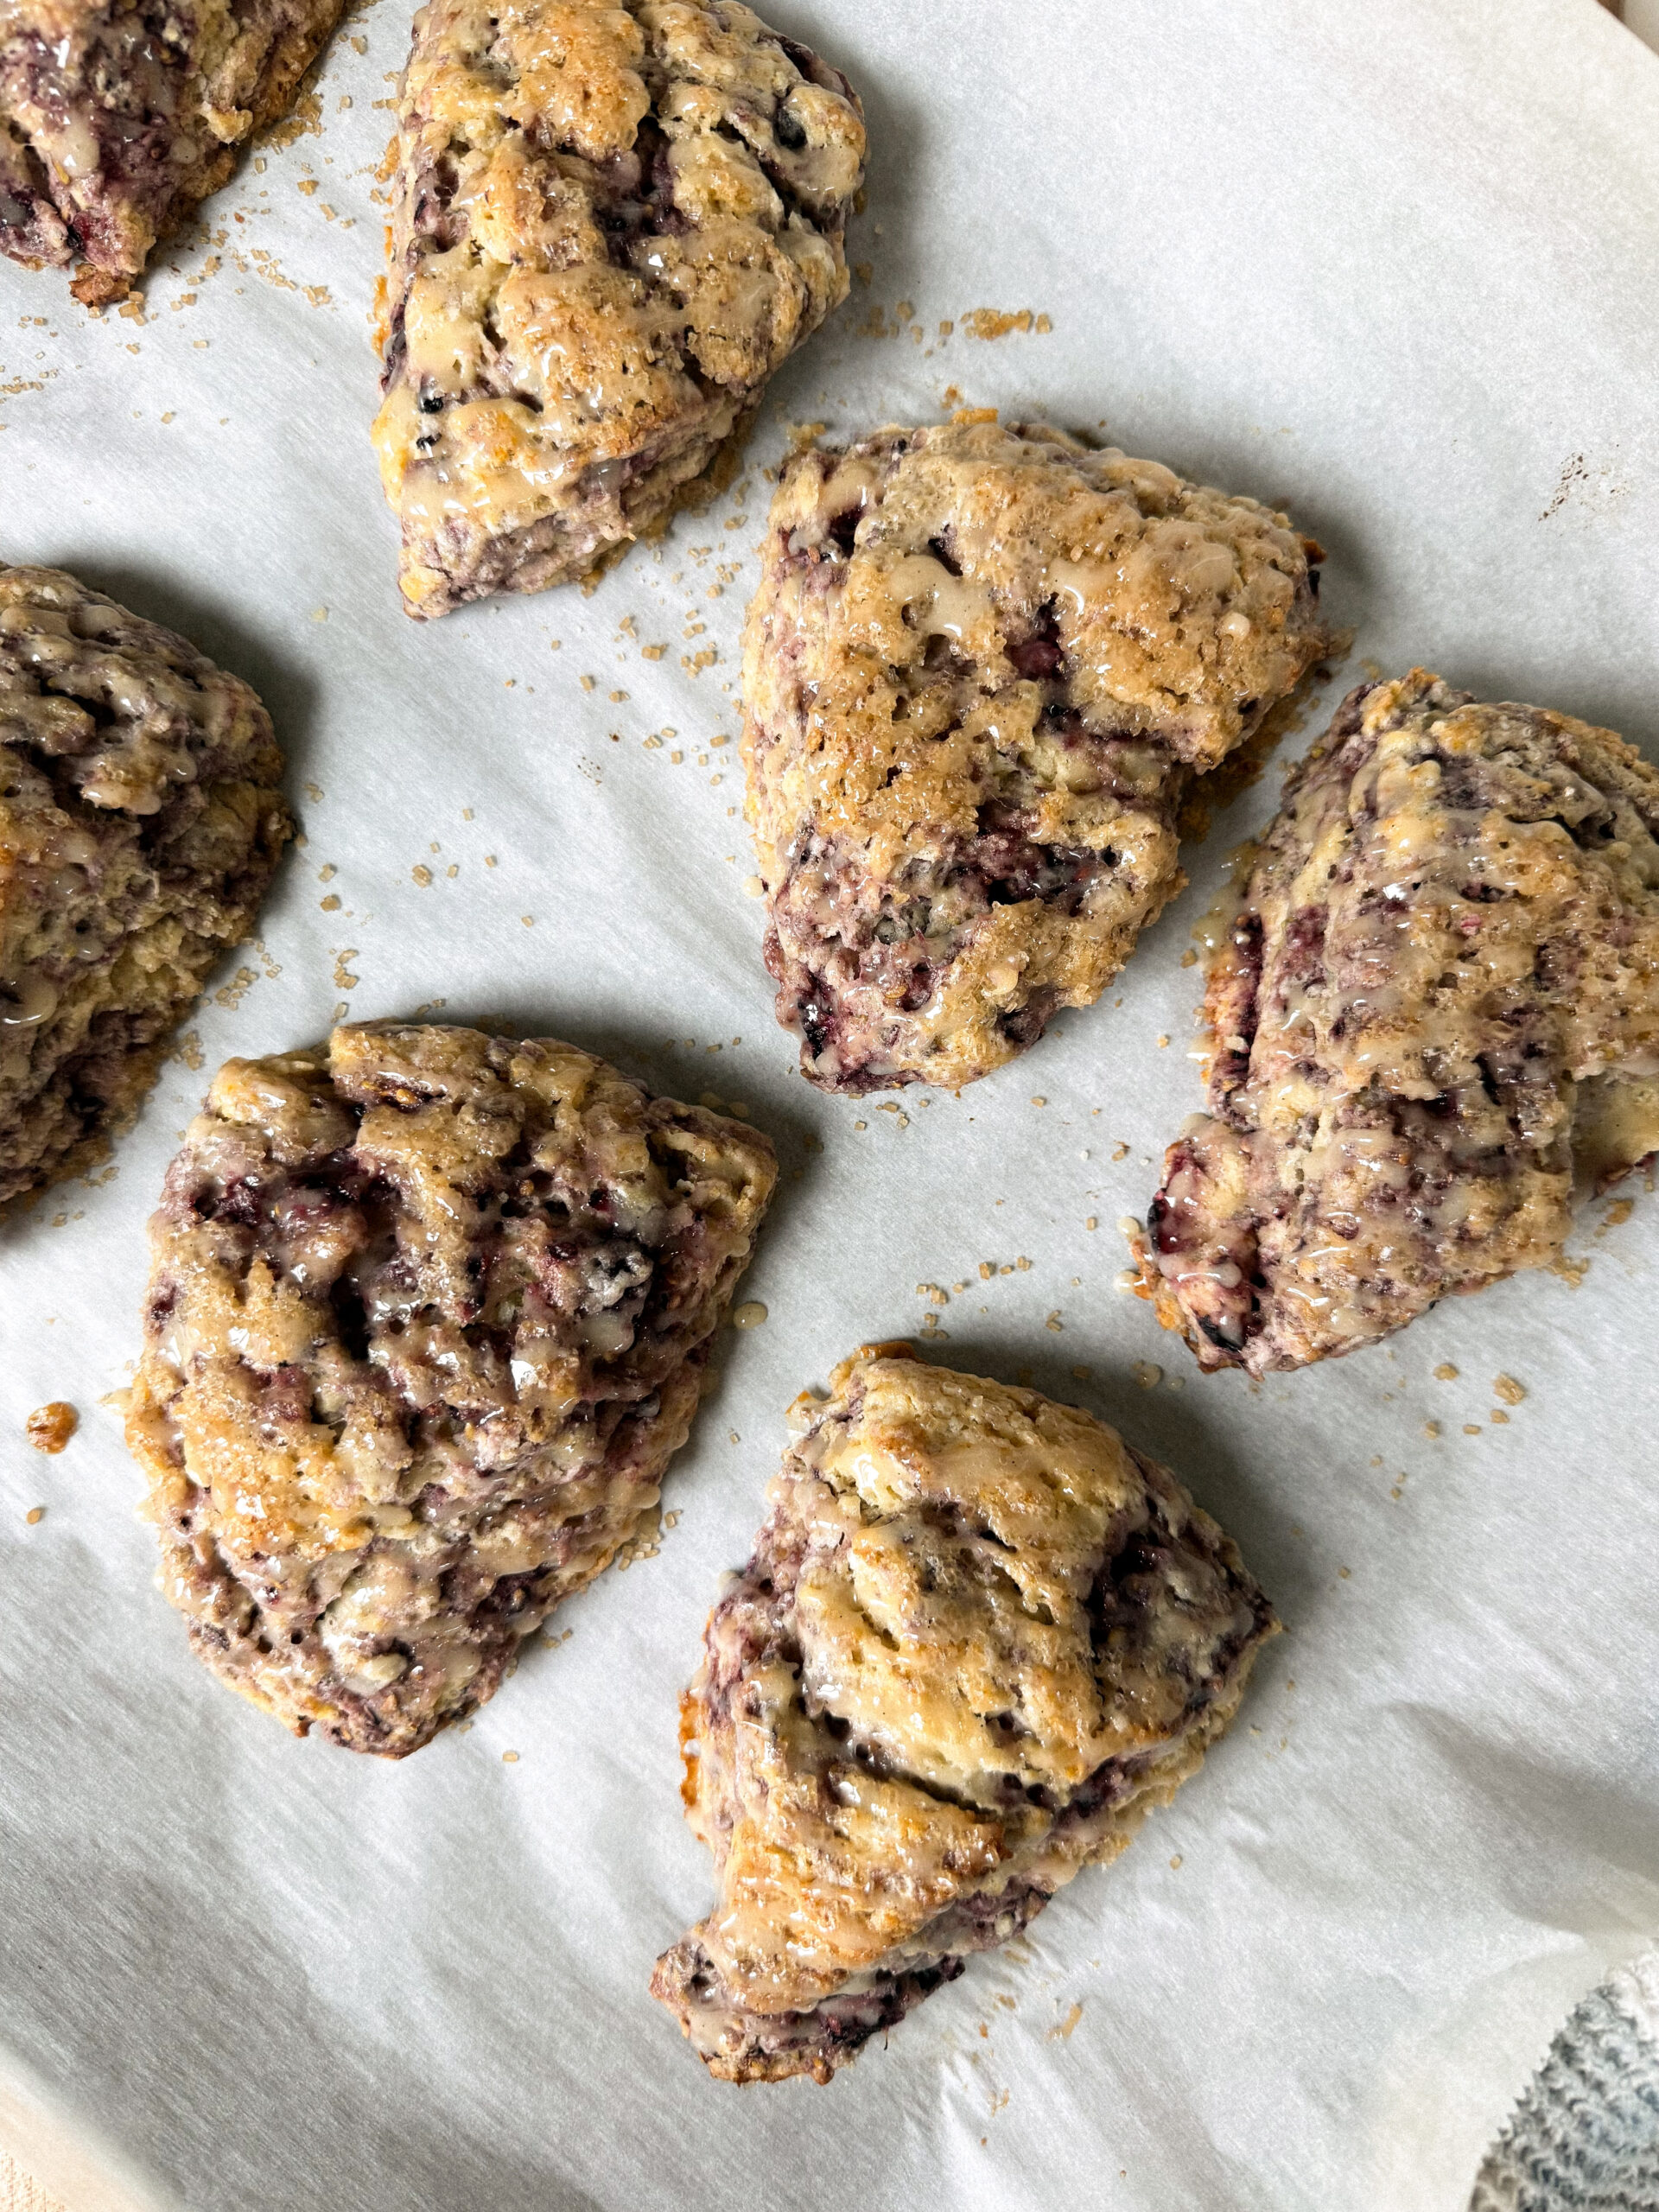
These scones are flaky in the way a scone should be but often isn’t, with visible layers and a slightly crumbly edge that gives way to a tender interior studded with fresh blackberries. The sourdough starter adds a faint tang that keeps the sweetness from going flat, and the honey glaze on top sets into something thin and barely crackly that makes every scone look finished in the best possible way. Turbinado sugar on the top before baking adds a crunch that survives the oven and gives each bite a textural contrast worth every step it took to get there.
If you don’t have an active starter or discard on hand, heavy cream replaces it seamlessly and the scone is still very much worth making. Both versions are on the table.

Frozen Butter Grated Into the Flour Is the Technique
Cold butter in scone dough is not a suggestion. It is the structural principle that creates the flaky, layered texture that separates a great scone from a dense, crumbly one. Fat that stays cold and intact as the dough comes together creates small pockets of steam in the oven, pushing the layers apart and creating that characteristic lift and separation.
Grating frozen butter directly into the flour is the most effective way to achieve this without a pastry cutter or a food processor. The fine shreds distribute evenly through the dry ingredients in seconds, coating themselves in flour as they fall and staying cold throughout the mixing process. The key instruction at this stage is restraint. The butter should remain in visible flecks when the wet ingredients go in. If it has fully incorporated into the dough, the fat has already done the wrong job.
Blackberries Go In Cut, Not Whole
Halving the blackberries before adding them to the flour mixture is a small detail that makes a real difference in how the dough comes together and how the finished scone eats. Whole blackberries are heavy and release a significant amount of juice when they hit the heat of the oven, which can make the dough around them dense and wet. Halved blackberries distribute more evenly through the dough, release slightly less liquid during baking, and mean that every wedge of scone has berry in every bite rather than one large pocket surrounded by plain dough.
Tossing the cut blackberries in the flour mixture before the wet ingredients go in coats them lightly, which also helps absorb some of their moisture during baking and keeps the crumb around them from going gummy.
The Bench Scraper Method
The bench scraper step is the part of this recipe that feels unfamiliar the first time and becomes the only way you want to make scones by the second. Rather than mixing the dough with your hands or a spoon, which warms the butter and overdevelops the gluten, the bench scraper cuts through the shaggy mixture repeatedly, folding and pressing it together without the sustained contact that causes problems.
The dough will feel dry and reluctant. It will not look cohesive. Press it into a disc anyway. The warmth of your hands in those final moments of shaping is just enough to bring it together without overworking it, and the disc that results will hold its shape cleanly when cut into wedges. Trust the process at this stage even when the dough feels like it is not going to cooperate, because it will.
Turbinado Sugar Is Doing Two Jobs
Brushing the scones with heavy cream before they go into the oven encourages browning and gives the turbinado sugar something to adhere to. The sugar itself melts slightly at the edges during baking while the larger crystals in the center stay mostly intact, creating a surface that is simultaneously caramelized and crunchy. It adds sweetness, texture, and the kind of visual finish that makes a homemade scone look intentional rather than rustic.
Seventeen minutes at 400°F is enough to set the interior fully and develop a golden bottom without pushing the top past where it should be. Check the bottom of one scone before pulling the tray. A pale bottom means more time. A deep golden color means they are ready.
The Honey Glaze Goes on Cool
Drizzling the glaze over warm scones produces a thin, runny coating that soaks in and disappears. Cooled scones hold the glaze on the surface, where it sets into a translucent, slightly firm layer that adds sweetness in every bite without making the scone feel frosted. Patience here takes about fifteen minutes and pays off visibly.
The glaze itself is honey-forward in a way that plays directly into the honey already in the dough, doubling down on that floral sweetness and tying the whole scone together from crust to center. A thin drizzle is enough. These scones do not need to be buried under it.
Blackberry Honey Sourdough Scones
Ingredients
FOR THE SCONES:
- 300 g All Purpose Flour
- 50 g Granulated Sugar
- 2 tsp Baking Powder
- 3 g Salt
- 1 stick of Frozen Butter
- 6 oz Fresh Blackberries
- 80 g Sourdough Starter (active or discard OR 50g heavy cream to replace the starter)
- 50 g Honey
- 1 Egg
- 8 g Vanilla Extract
- Heavy Cream (for topping before baking)
- Turbinado Sugar (for topping before baking)
FOR THE GLAZE:
- 250 g Powdered Sugar
- 100 g Honey
- 50 g Milk
- 8 g Vanilla Extract
Instructions
- Preheat the oven to 400°F. Add the flour, sugar, baking powder, and salt to a large bowl. Whisk to combine.
- Grate the frozen butter into the flour mixture, then cut the blackberries in half and add them to the bowl. Toss the flour mixture to coat the butter and blackberries.
- In a separate bowl, whisk together the starter, honey, egg, and vanilla extract. Pour the wet ingredients over the dry. Combine the ingredients just until the liquid is mostly absorbed, then dump the dough onto a clean surface.
- Using a bench scraper, begin cutting the mixture together, being careful not to over mix. It is essential that the butter remains in visible flecks and does not actually combine into the dough. Then, use your hands to press the dough into a 1 1/2” thick disc. The dough will feel dry, but it will come together as you work it with your hands.
- Cut the disc into 8 even triangles, like a pizza. Place each scone onto a parchment lined baking sheet. Brush the scones with heavy cream and sprinkle a generous layer of turbinado sugar on top.
- Bake for 17 minutes, until the scones are fully set and golden on the bottom.
- While the scones are baking, prepare the glaze by whisking the powdered sugar, honey, milk, and vanilla until smooth. Once the scones are cooled, drizzle with the honey glaze.